Firstly, the pastry requires a minimum of 20 minutes to rest which will produce perfectly acceptable samosas. However, if you can give it 24 hours in a refrigerator, that is much better.
So, if you have the opportunity to give it a day to rest then just start off by making the dough and the following day, continue with the rest of it - processing the potatoes then instead.
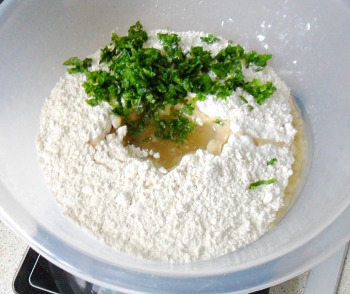 |
Freshly chopped mint with the flour and oil -
mint replaces Ajwain in the original recipe. |
In a medium-sized mixing bowl, put the flour, oil and mint and mix.
Add the water bit-by-bit and mix to make a stiff dough.
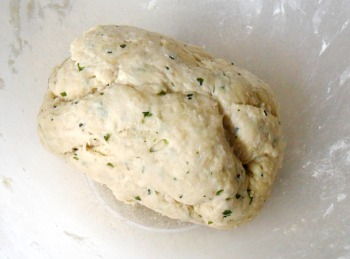 |
Once it has been kneaded, let it settle.
Note how visible the mint is. |
Knead to a stiff consistency.
Roll into a ball and put it in the bowl.
Cover it with a clean, dry tea-towel and put to one side for 20 minutes - this gives you a chance to prepare the insides of the samosas.
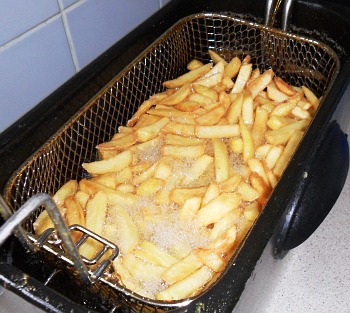 |
Deep-fry the chips according to
the instructions on the pack. |
Set the deep oil fryer to 180 Celsius.
Deep fry the chips until they are golden brown.
Drain and put on kitchen towel to drain.
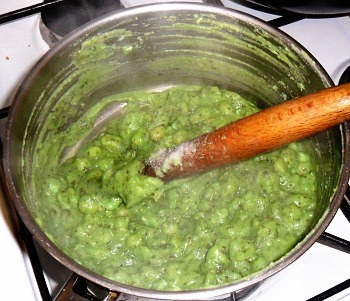 |
Mushy peas with mint
sauce, salt and vinegar. |
In a pan, put the mushy peas and heat up.
You might have to add a bit of water to make them flow a bit better.
Add the mint sauce, salt, vinegar and optionally black pepper.
Mix.
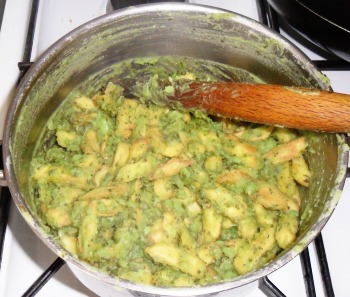 |
Now with the chips. They will loose their
crispiness but the fried flavour will keep. |
Add the chips and stir-in, making sure that the mushy pea mix at the bottom is mixed in as well - the chips tend to stay on the top unless you take this precaution.
Put to one side and let it cool down.
Switch on the deep fryer and turn the temperature to 170 Celsius. Take off the lid.
Instead of using flour to stop the dough from sticking to the rolling pin and the work surface whilst we roll it out, we are going to use oil.
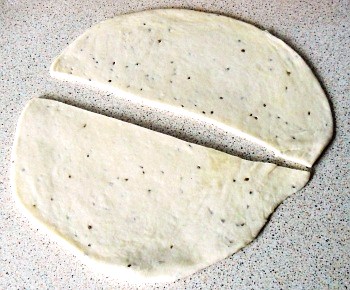 |
Working with oil to stop the dough
from sticking to the work surface. |
Next we are going to roll out the pastry. The process that follows this is deep frying so putting loose flour into the deep oil will mess it up.
So, rub a few drops of oil into your hands, on the rolling pin and onto the work surface - it doesn't need to be swimming in it, just alight covering will do.
Take a enough dough to make a ball around 3-4cm or so in diameter - the important thing here is that the dough is around 3mm thick.
Roll it into a ball and very quickly, dip around a third of it into the oil - we are picking up oil here, not cooking the dough.
Put the dough ball onto the work surface and squash it down a bit, using it to rub rub the oil into the part of the surface that we are going to use.
Roll it out into a circle that is around 15cm in diameter and slice it in half.
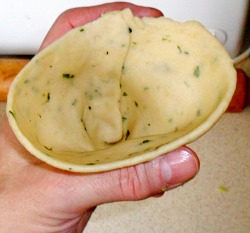 |
Make a good seal along
the edge - no leaks please. |
Rub a small amount of water along the straight edge of one of them - we are going to make two out of each dough ball.
Pick it up and make a cone out of it, overlapping the straight edge onto itself by around 1cm.
Press the two halves of the joint together so that it sticks.
If you have put too much water on it, it will create a slimy interface that will just slide and not stick. If that is the case, just put it down to let it dry out a bit and work on the other one - you will get the hang of it as you do these and be an expert by the end.
You should not have a cone like the one in the photograph on the right.
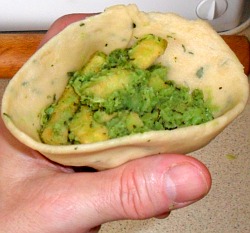 |
Take care not to get the filling on the
sides where we are going to seal it. |
Holding it in your hand as shown in the photographs, spoon some of the mushy peas and chips mixture into it, making sure that it goes all of the way to the bottom of the cone.
You should leave around 1.5cm of room in the cone at the top.
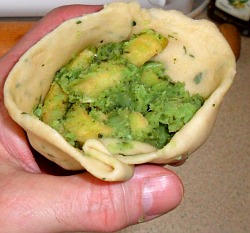 |
Make the top narrower by making a
pleat. Fold it over to form a 'S' shape. |
Next, we want to turn the top (as we hold it) of the cone in a bit so we put a pleat in it at the front like so.
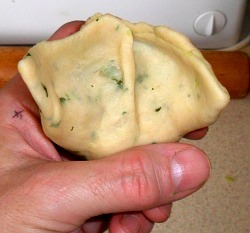 |
Pull the front edge over and
stick it to the back edge. |
Next, pull the pleated part up and over to the back and squash it into the pastry there.
This leaves the back straight.
Continue joining the front with the back like that, so that it forms an arc with the end points facing towards you.
This means that the corners and the pleat form a triangle such that when turned over so that the pointy end is pointing upwards, it can stand up without falling over.
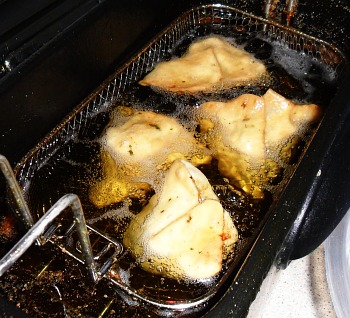 |
Deep fry slowly until brown.
The fryer I use holds four. |
Lower the samosas, into the oil and cook them four at a time - I put them in two at a time but so that when I put two in, there are also two, half-cooked samosas in there already.
Take them out when they are golden brown.
Cooking them at 170 Celsius means that the inside of the dough gets a chance to cook properly before the outside burns.
Finally, take them out, draining them and placing on a piece of paper kitchen towel to soak up any surplus fat.
Let them cool down covered with a clean dry tea towel so that they don't go soggy.
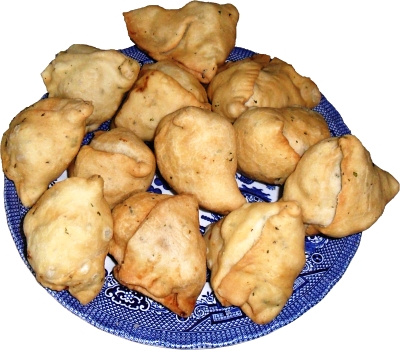 |
English Samosas. This recipe
makes around 12-16 of them. |