 |
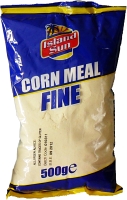
This is simply
ground-up maize. |
The recipes you will find in various places for tortillas and tortilla chips use a flour that is made from maize that has been treated with calcium hydroxide solution - known as 'lime' and not to be confused with the citrus fruit - in a process that is known as nixtamalization.
Unfortunately, it is difficult to source nixtamalized cornmeal in the UK (the bit where I live) so, for the benefit of myself and everybody else who cannot get hold of this ingredient, here is an alternative that - if you read the ingredients on a lot of packs of tortilla chips - isn't that different from the commercial product.
The alternative to nixtamalized cornmeal is normal cornmeal - ground-up maize. On its own with water, it will do nothing but form a slurry or a paste and will not hold itself together - it is like sand and water.
Clearly, it needs something to bind it so that it can be handled whilst it is being formed into something during the cooking process - we are doing it by hand in our kitchens, not by using a machine in a factory.
The answer to this is the obvious one - to use wheat flour. This can be in various proportions and the exact proportions of maize to wheat doesn't matter to us as we are preparing it for ourselves. So, 50:50 is as good as any and that is what we will use.
Tortillas:
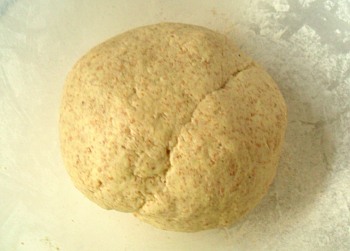 |
This dough is noticeably yellow.
It still needs to rest though. |
Mix the maize and wheat flours together in a bowl.
Add the water, a little at a time, mixing with a fork, until you get a stiff dough.
You will notice that the dough is quite a pronounced yellow.
Leave it to rest for 20 minutes.
At the end of the 20 minutes, put your tava on to a high heat and let it warm up, without oil, whilst you do the following...
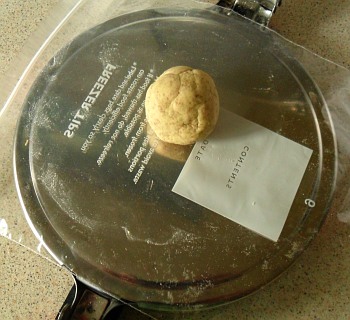 |
Put a small ball, around
2.5cm, on the puri press. |
Open up your puri press and get a fresh freezer bag out - splitting it down the sides.
Break off some dough and roll it into a ball, around 2.5cm in diameter, placing it on the puri press.
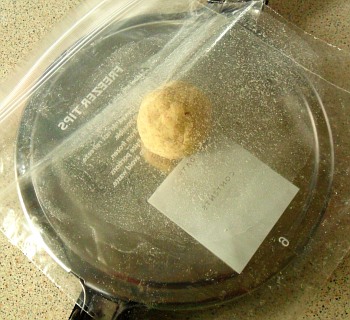 |
Cover it with the top sheet of plastic.
|
Cover the ball with the rest of the bag, leaving enough room for it to expand to the edge of the press in all directions.
Lower the lid of the press, pressing down and then push the lever down for a few seconds.
The amount that the dough spreads is more dependent upon time than high pressure so a moderate pressure for a few seconds works fine.
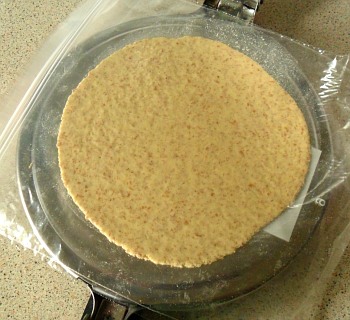 |
The press produces even circles,
very quickly. |
Lift the lid and you should have a reasonably circular tortilla.
Whilst it is still on the puri press, peel off the top layer of plastic.
Now, pick it up with the plastic sheet and place it face down on your hand.
It is worth noticing that due to the nature of puri/tortilla presses, one side of it is going to be a little thicker than the other and as we are aiming to get the thinnest tortillas we can, this becomes important.
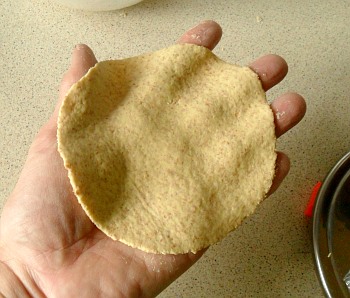 |
You should be able to hold
it in your hand like this. |
Now, peel the remaining plastic sheet off the tortilla, starting from the thicker edge of the tortilla.
With a bit of practice and the right mixture, you can achieve success rates close to 100%.
When you have finished, it should look like this.
If you are experimenting with the proportion of maize flour in the tortilla, there will come a point where there is so much maize - ie, so little wheat flour - that it will not hold together in your hand like this.
Whilst this isn't a problem for a machine that makes 100% maize tortillas, we are not doing it like that.
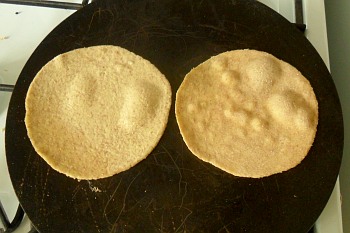 |
Aim carefully and process
two at a time on one tava. |
Carefully, aim your tortilla at one half of the tava so that it impacts it as you can see in the photograph.
You can do two at a time - remove the cooked one, turn over the cooking one and put a fresh one on.
The only critical part is aiming it - the time it takes to remove the plastic is not that important so if you are right handed, it is probably a good idea to put the tortilla from the press onto your right and and vice versa - this will assist in your aim.
When you remove them, put them on a plate or cooling rack - they are not supposed to be the brittle, crispy things that we know as tortilla chips, tortillas are more like roti, only not as flexible.
They are just right for some home-made salsa.
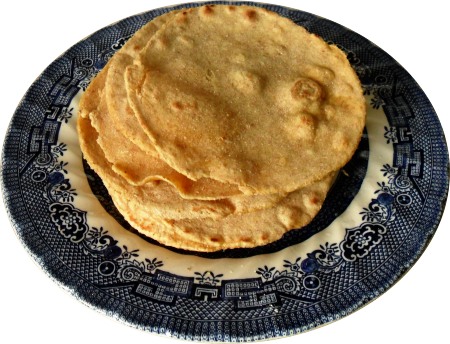 |
A plate of finished tortillas.
|
Tortilla chips:
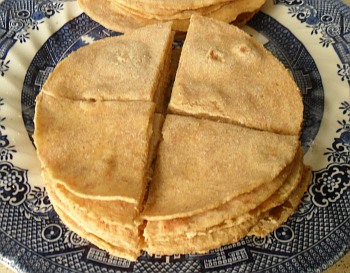 |
Cut them into four or six - four and
everyone will know you made them. |
This part is easy - once you have your tortillas, that is. Overall, the tortilla chip process is quite involved if you are not interested in making tortillas as well.
Simply cut your tortillas into four like so, using a sharp knife.
Any that won't cut right through, you can simply bend and they will break.
If you do want tortillas as well as tortilla chips, then cut up the tortillas that you would be more likely to classify as misshapen - incidentally, this is how tortilla chips were invented.
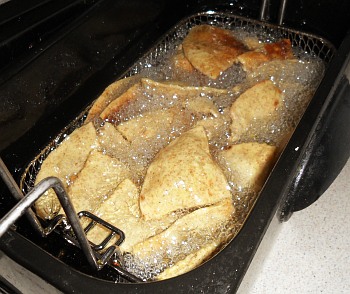 |
Deep fry for a few minutes at 190C.
|
Next, put them in the deep oil fryer at 190C for as long as it takes to turn them brown.
They will have varying water content and some will be a little thicker than others but it should be just a few minutes.
Once they are ready, drain them and put them on some kitchen paper to soak up any excess oil.
Next, lightly salt them or put on any flavour that you like.
These are prefect for dipping in some home-made salsa.
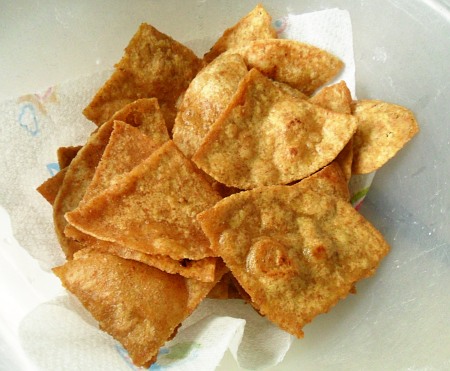 |
Finished tortilla chips and you made them yourself.
|