 |
Our own synthetic eggwhite.
|
If you are using a home-made mould and need to make the batter more 'stringy', then follow the instructions to make your own 'egg white' on the knowledge page by clicking here.
Otherwise, start off by...
 |
Flour, salts and turmeric.
|
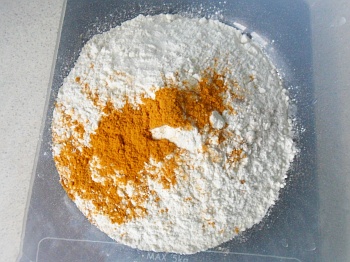
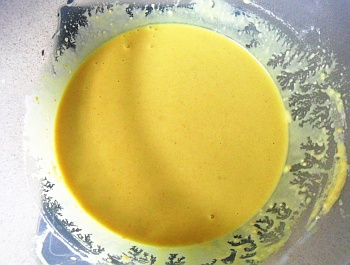
In a small bowl, place the flour, salt, kala namak and turmeric powder and mix them together.
 |
Add coconut milk, water
and tapioca water. |
To the flour we have mixed already, add the coconut milk, around 50mls of our hydrolysed starch mixture - the equivalent of an egg or two.
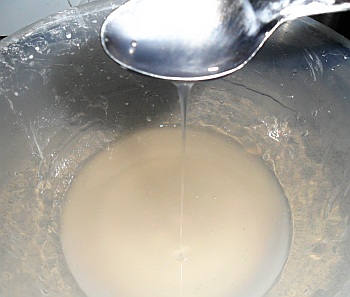
Next, add enough water - added gradually - to make a batter of a reasonable consistency.
Then, put the batter through a fine sieve - you might want to do this into a plastic jug. We are going to be pouring it through the fine holes in our roti jala mould so we don't want anything blocking them up and a fine, metal sieve works well here.
 |
Carry the mould and the plate over to the.
tava. Remove and replace the plate in situ. |
Next, you are going to have to pour the batter from the mould. There are two issues here:- Filling and controlling the flow from the mould; and,
- Moving the mould to get the pattern you want.
Filling and controlling flow: The real Roti Jala mould has the ends of the holes all in the same plane so if you put it on a flat surface, it will block them all to the same extent - the batter is farily thick so the flow is neglegable.
To fill, put the real Roti Jala mould on a small plate and just pour the batter into it.
To use it, take the mould, still resting on the plate, over to the tava and, holding the mould still, take the plate from under it. When you have finished, put the plate back under it and then move it away from the tava.
 |
More of a hassle
but still manageable. |
In that way, pouring the batter has a clean start and finish - you can pour the batter from the plate back into your plastic jug.
The home-made mould has a bit of a problem with this in that it is unlikely that you will have all of the holes in the same plane.
Another problem with having holes at the bottom of the main container is that when the level gets to within a couple of centimetres of the bottom, there is not enough pressure to keep a stream of batter going through the holes and it will tend to break up into beads - this is why the real Roti Jala mould has the stems leading down to the holes, effectively removing the volume of batter that will never pour properly.
The way around this is to clean out the home-made mould before using it and then, holding it above the tava, fill it from the plastic jug in situ and when you have finished, hold the mould above the plastic jug to stop any more from going onto the tava. This is a bit messy but in the absense of the real mould, it is good enough.
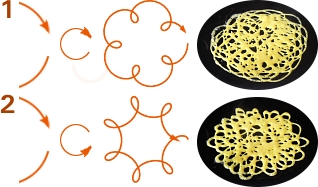 |
The way you move the mould
changes how it looks |
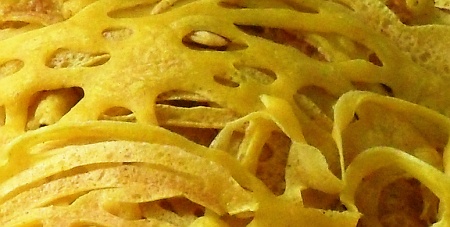
Getting the pattern you want: If you just move the mould in large circles, you will end up with many long, unattached strings of cooked batter and it won't hold together very well - the strangth of the net is from the links between the strings of cooked batter.
Instead, move the mould in a circular way in small circles from the wrist - you don't need to rotate it, just hold it in your hand - and whilst doing that, move it is larger circles from your shoulder.
You can see from the diagram and pictures on the right that whilst making the large circles in the same direction, making the small circles in either the same or opposite direction has quite an effect on the results. The choice is yours.
Finally, remember to put some in the hole in the middle.
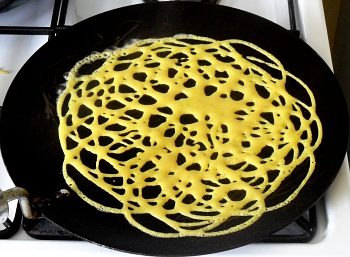 |
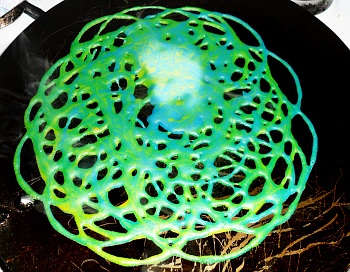
Swirl the batter onto the hot tava.
|
So... Lightly grease a tava with some gheo on a piece of paper kitchen towel. You don't want so much that you are frying it as such, you just want enough to stop the batter from sticking to the hot surface. Heat up the tava to a temperature similar to what you would use to make pancakes.
Hold the roti jala mould around 3cm over the hot tava and start it pouring, according to whether you are using the real mould or your home-made one as discussed above. Move the mould smoothly around in a circular action as described above - experiment - they don't need to be round either.
You need to have enough batter on there so that the circles join up but you don't want so much there that you get pools of it, either.
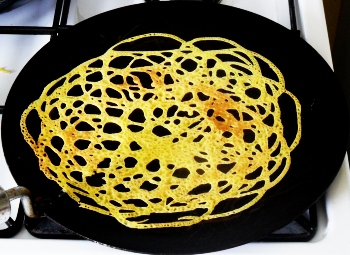 |
Turn it over.
|
Let it cook until it starts to brown.
Next, turn it over and lightly brown the other side.
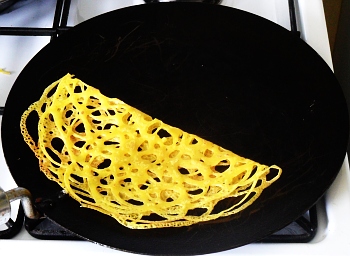
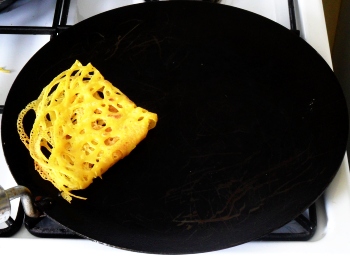
Once it is cooked o both sides, you need to fold it up.
You can do this by folding into quarters or by folding it over and rolling it up - whatever takes your fancy.
You don't have to make circular-shaped roti jala either, you can make rectangular ones and roll them into little cylinders.
 |
Fold it in half...
|
Here, we are going to fold them into quarters.
Fold it in half.
 |
...and in half again.
|
And then half again.
If you want, you can fold them again to make eighths - it is up to you, there are no rules, just to what you want.
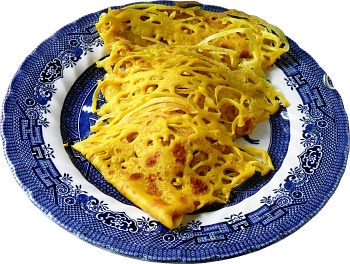 |
Put fresh roti jalas on
a plate and keep warm. |
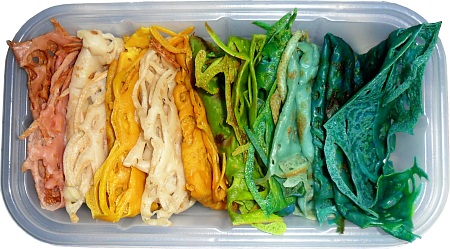
On the right, you can see four of them. The way you use them in your meal is to stab them with your fork and dip them in the sauce of your curry - like a small, edible mop.
They are ideal for runny sauces and the fact that they are fairly plain to start with means that you can make plenty of different ones to suit your taste with whatever it is you are eating them with.
See below for variations on the theme.
 |
This tasty net will mop up any sauce.
|